Aphids
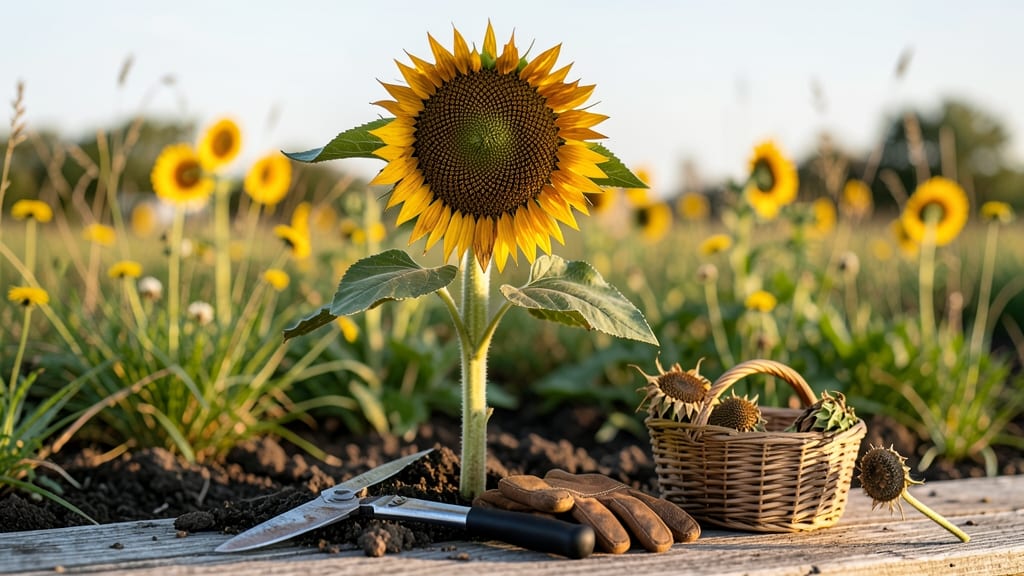
Cut down sunflowers 🌻 when their seed heads turn yellow-brown and the petals droop—this is the sweet spot for harvesting seeds or preparing for winter cleanup.
Picture this: You’ve spent months watching your towering sunflowers sway in the breeze, only to wonder whether to leave them standing or cut them back. The answer depends on your goals—whether you’re saving seeds for next year’s garden or simply tidying up after frost.
In USDA Zone 6a, the first frost usually hits by mid-October, giving you a narrow window to act. Harvesting seed heads too early means immature seeds, while waiting too long risks losing them to birds or rot.
Below, I’ll walk you through the exact signs to look for and how to time your cuts for the best results.
You’ll also learn how cutting affects regrowth (spoiler: it doesn’t), whether to compost or discard the stems, and how to store seeds for planting—plus, regional tweaks for areas with earlier or later frosts.
How to identify the perfect time to harvest sunflower seed heads
Harvesting sunflower seeds at the right moment ensures you save high-quality seeds for next year’s garden. The key is watching for visual and tactile cues that signal maturity.
When you miss these signs, you risk collecting seeds that won’t germinate—or worse, letting them fall to the ground and sprout where you don’t want them.
Sunflowers typically reach harvest readiness between 75 to 120 days after planting, depending on the variety. In my experience, late summer to early fall is the prime window for most U.S. regions (USDA Zones 5-9).
But don’t rely solely on the calendar—your local climate and weather patterns play a huge role in timing.
| Harvest Cue | What to Look For | Action Step |
|---|---|---|
| Petal Color | Yellow petals wilt and turn brown | Harvest within 3-5 days |
| Seed Head Color | Back of head turns yellow/brown | Ideal harvest window |
| Seed Sound | Seeds rattle when shaken | Confirm maturity |
| Stem Condition | Stem becomes woody and dry | Ready for cutting |
| Seed Firmness | Seeds feel hard when squeezed | Harvest immediately |
First, examine the petals—when they begin wilting and turning brown, it’s your first clue. I always check this in the morning when petals are fully closed. If you see brown or blackened petals, wait 1-2 days before harvesting, as this can indicate overripeness or frost damage.
Next, inspect the back of the seed head. When it turns from green to yellow or brown, the seeds inside are nearly ready. This color change happens because the chlorophyll breaks down as the seeds mature.
For black oil sunflowers, the back will turn deep brown, while giant varieties may show a more golden hue.
Don’t overlook the tactile test: gently shake the seed head. If seeds rattle inside, they’re dry and ready. I also press a seed between my fingers—if it feels firm and doesn’t crush easily, it’s harvest-ready.
Soft or mushy seeds mean you’re too early, while seeds that crumble too easily are overripe.
Regional climate matters—if you’re in a cooler zone (USDA 4-5), harvest earlier to avoid early frost. In warmer zones (USDA 8-10), you might have a longer window.
I once grew sunflowers in Zone 7 and had to harvest by late September to beat the first frost, while my friend in Zone 9 could wait until October.
One mistake I’ve made is waiting too long—seeds can shatter and fall to the ground, especially in windy conditions. If you see birds pecking at your sunflowers, they’re often after ripe seeds, which means it’s time to act fast.
Cutting the stems early enough prevents this loss while still giving you viable seeds.
For dwarf varieties, which mature faster (around 50-60 days), watch closely as they ripen quicker than tall varieties. I grow ‘Teddy Bear’ sunflowers, and they’re ready for harvest about two weeks earlier than my ‘Russian Giant’ plants. Always check the seed packet for variety-specific timelines as a baseline.
Finally, consider your post-harvest plans. If you’re drying seeds indoors, harvest slightly earlier (when petals are just starting to brown). For outdoor drying, wait until the seed head is fully browned—this gives seeds extra time to mature before processing.
Timing your harvest correctly means the difference between a bountiful seed stash and wasted effort. Pay attention to these cues, and you’ll have sunflower seeds ready for planting next spring—just like the ones I saved from last year’s garden that sprouted beautifully this season! 🌾
Step-by-step guide: harvesting, drying, and storing sunflower seeds
Now that you’ve identified the perfect time to harvest your sunflower seed heads, let’s dive into the hands-on process. Proper harvesting ensures you collect viable seeds for next year’s garden while preserving the plant’s natural beauty.
The key is patience and precision—rushing the process can lead to immature seeds that won’t germinate properly.
Once your sunflowers show the ready signs—wilting petals, yellow-brown seed heads, and dry stems—it’s time to act. But how you cut and process those seed heads makes all the difference in seed quality. Let’s break it down into clear, actionable steps to guarantee success.
Proper drying is critical—humidity control is your best friend here. Aim for a relative humidity below 50% to prevent mold. If your climate is damp, consider using a dehumidifier or fan to speed up the process. Once fully dried, seeds should feel lightweight and crisp when squeezed.
After processing, test a few seeds by planting them in a small pot. If they sprout within 7-14 days, your storage method worked! This simple test gives you confidence that your seeds are ready for next year’s garden.
With these steps, you’ll have a reliable seed supply and avoid common pitfalls.
Now that your seeds are safely stored, you’re one step closer to growing sunflowers again next season. Just remember: patience during drying and attention to detail during storage are the secrets to success. Happy gardening! 🌾