How To
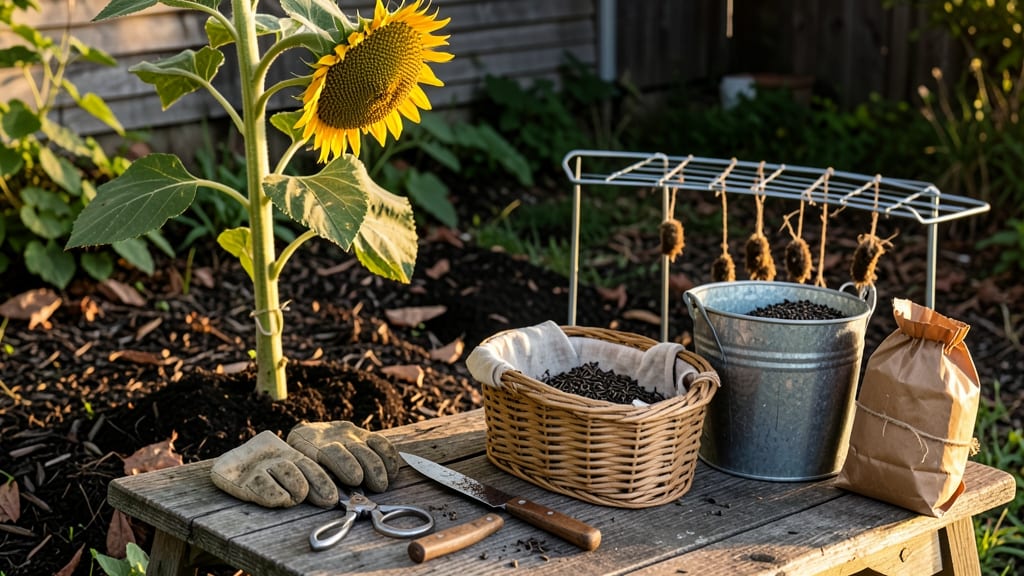
Telling when sunflower seeds are ready to harvest depends on watching for three key signs: the flower head turning brown, seeds rattling inside, and petals drying out completely.
Picture this: your 🌻 sunflowers are towering over the garden, but you’re not sure if those seeds are ready to pick. Harvest too early, and you’ll end up with bitter, underdeveloped seeds.
Wait too long, and they’ll scatter on the ground—or worse, sprout right there! The good news? These visual cues make it easy to nail the perfect timing without guesswork.
Most sunflowers in Zone 6a reach harvest readiness by late July or early August, but the real clues are on the plant itself. A dry, papery seed head and seeds that shake when gently moved are your green light to harvest.
Below, I’ll walk you through how to check these signs—and what to do once you’ve got them in hand.
You’ll also learn the best time of day to harvest (hint: it’s not midday) and how to store seeds for planting next year. No more second-guessing—just perfectly timed sunflower seeds every time.


3 Visual signs sunflower seeds are ready for harvesting
Harvesting sunflower seeds at the right moment transforms your garden into a treasure trove of flavorful, nutrient-rich seeds. But how do you know when they're perfectly ripe? Waiting too long risks seeds falling off and becoming bitter, while harvesting too early means underdeveloped, bland seeds.
The key lies in three visual cues that reveal maturity: the flower head's color, the seed's appearance, and the stem's condition.
Start by examining the back of the flower head. When it turns from green to a deep, consistent brown, that's your first signal. This color change indicates the seeds are nearing full maturity. Next, check the petals—they should be dry, brittle, and often falling off naturally.
Finally, inspect the stem for a papery texture, which means the plant is redirecting nutrients to the seeds. These three signs combined ensure you're harvesting at peak quality.
- 1. Flower Head Color: The back of the seed head turns from green to deep brown. This indicates the seeds are fully developed and ready for harvest. Avoid waiting until the entire head is completely dry—this can lead to seed loss.
- 2. Seed Color & Appearance: Open a few seeds to check their color. Mature seeds are plump, solid, and a rich cream or tan color. If they're still white or translucent, they need more time on the stalk.
- 3. Stem Hardness: Gently squeeze the stem near the base of the flower head. If it feels dry and papery, the seeds are ready. A moist or flexible stem means they need more time.
Don’t rely on a single sign alone—combine all three for accuracy. For example, a brown flower head with green seeds inside means you should wait a few more days.
Conversely, if the head is fully brown but the seeds are still white, the seeds might be overripe and falling off soon. This multi-step verification ensures you never miss the perfect harvest window.
Timing is everything, especially in late summer or early fall, when sunflowers typically mature. In warmer climates, harvest may start as early as July, while cooler regions might see readiness extend into September.
Pay attention to your local frost dates—if a frost is forecasted before your seeds are ready, harvest them early and finish drying indoors.
One common mistake is waiting until the petals are completely gone. While this can happen, the seeds may already be overripe by then. Instead, focus on the back of the head turning brown and the seeds feeling firm to the touch.
This approach guarantees seeds that are rich in flavor and nutrition, perfect for roasting, planting, or bird feeders.
If you're unsure, harvest a few seeds from one head as a test. Let them dry completely for a week, then crack them open. If the seeds are plump and fully colored, your remaining sunflowers are ready.
If they're still pale or soft, give the plants another week. This test-harvest method builds confidence and prevents wasted effort.
Once you’ve confirmed maturity, harvest on a dry, sunny day to prevent moisture from accelerating seed spoilage. Use a sharp knife or pruners to cut the entire flower head, leaving a few inches of stem attached.
Hang the heads upside down in a well-ventilated, dry location for 1-2 weeks to finish drying. Proper drying preserves seed quality and prevents mold.
Remember, every sunflower variety matures slightly differently. Dwarf varieties may ripen faster than towering giants, so monitor each plant individually. By mastering these three visual signs, you’ll transform your garden into a seed-saving powerhouse, with homegrown seeds ready for next year’s planting or delicious snacks.
Harvesting at the right time isn’t just about avoiding bitter seeds—it’s about maximizing the flavor, nutrition, and longevity of your sunflower seeds. With these signs as your guide, you’ll enjoy a bountiful harvest season after season. Happy gardening! 🌱
How to test sunflower seed maturity: the finger squeeze method
Harvesting sunflower seeds at the perfect moment ensures maximum flavor and nutrition—but timing is tricky. While visual cues like brown seed heads and drooping petals help, the most reliable test is tactile.
My go-to method? The finger squeeze. This simple trick reveals whether seeds are fully mature or still developing, saving you from bitter disappointments or wasted effort.
Many gardeners wait until the back of the seed head turns brown, but even then, seeds can vary in maturity. The finger squeeze method cuts through guesswork by testing seed head hardness.
When done right, it guarantees seeds are plump, flavorful, and ready for storage or roasting. I’ve used this method for years, and it’s never failed me—even with late-blooming varieties that confuse other tests.
Here’s how to perform the test with precision, plus common mistakes to avoid:
One mistake I’ve seen gardeners make is harvesting based solely on seed head color. A brown back doesn’t always mean mature seeds—especially in humid climates where heads dry unevenly.
The finger squeeze confirms readiness regardless of weather. Another pitfall? Waiting too long. Overripe seeds fall off the stalk, leaving you with nothing but empty husks.
Pro tip: Test multiple heads on the same plant, as maturity varies. Once you’ve identified the perfect batch, harvest the rest within 24–48 hours to avoid losing seeds to birds or weather.
Store dried heads in a cool, dark place until you’re ready to shell them—this preserves flavor and prevents spoilage.
With this method, you’ll never second-guess your harvest again. The finger squeeze is your secret weapon for foolproof sunflower seed maturity, ensuring every stalk delivers the best possible yield—whether you’re saving seeds for next year’s garden or roasting them for snacks.