How To
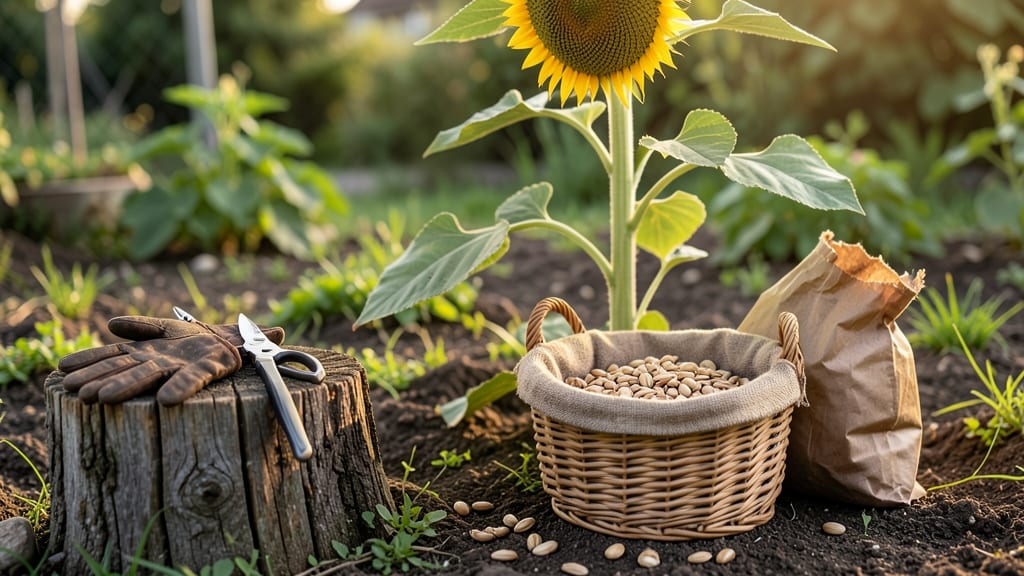
Knowing when to harvest sunflower seeds means watching for two key signals: the back of the seed head turning tan and the seeds rattling inside when shaken.
You could miss the window by days—or even weeks—if you’re only checking the petals. That’s why I’ll show you how to spot the color shift and seed firmness that guarantee perfect ripeness, so you never waste a single head.
Sunflowers 🌻 in zone 6a typically reach harvest between late August and October, but frost risk means you need to act fast. I’ll walk you through the exact steps to test seeds without damaging them and how to dry them properly for storage.
Whether you’re saving seeds for next year or roasting them fresh, these cues will turn your harvest from guesswork into a foolproof routine.


Sunflower head color changes: the 5-Stage guide to perfect harvest timing
Sunflower seed maturity isn’t just about waiting—it’s about watching for color shifts that reveal exactly when seeds are ready. The flower head transforms through five distinct stages, each signaling a critical moment in the harvest timeline. I’ve grown sunflowers for years, and these visual cues have never failed me.
Start by tracking the back of the seed head, where the magic happens. Initially, it’s a vibrant green color, but as seeds mature, this area shifts through predictable hues.
Missing these changes often leads to bitter seeds or wasted effort. Let’s break down each stage so you can harvest at peak ripeness.
| Stage | Head Color | Seed Status | Action |
|---|---|---|---|
| 1 | Bright green | Immature | Wait 4-6 weeks |
| 2 | Green with yellow patches | Developing | Monitor daily |
| 3 | Yellow-brown | Nearly ripe | Check firmness |
| 4 | Tan/dry | Fully ripe | Harvest immediately |
| 5 | Gray/brittle | Overripe | Too late |
Stage 1 (Bright Green): Your sunflower’s head starts entirely green, indicating seeds are still developing. This is the immature stage, and harvesting now guarantees bitter, underdeveloped seeds. Most varieties take 60-90 days to reach maturity from planting, so patience is key here.
At this point, the flower petals remain vibrant yellow, and the seed head feels firm and moist to the touch. I’ve seen gardeners rush this stage, thinking "almost there," but trust me—waiting prevents disappointment. Use this time to water consistently and protect from pests like bird damage.
Stage 2 (Green with Yellow Patches): The back of the head begins showing yellow patches, signaling seeds are maturing. This is where many gardeners get excited and check too soon. The petals start wilting, but the head may still feel slightly damp. Shake the head gently—if seeds don’t rattle, they’re not ready yet.
This transition happens 1-2 weeks before harvest, so stay vigilant. I recommend marking your calendar when you first spot yellow patches to track progress. Morning sunlight enhances color visibility, making it easier to spot these changes. Avoid harvesting now, as seeds will still be moist and underdeveloped.
Stage 3 (Yellow-Brown): Now the seed head turns predominantly yellow-brown, and the back feels dry. This is the critical window—harvest too early, and seeds lack flavor; wait too long, and they become overripe. Press a seed between your fingers: if it’s soft and crumbly, it’s not ready yet.
At this stage, the petals are fully brown and may have fallen off. The head feels papery and lighter in weight. I’ve found that dwarf varieties mature faster (around 60 days), while tall varieties take closer to 120 days. Always check the seed packet for variety-specific timelines.
Stage 4 (Tan/Dry): The perfect harvest stage arrives when the back turns tan and the head feels brittle. Shake it vigorously—if seeds rattle loudly and some fall out, they’re ready. This is your golden window for harvesting before birds or weather ruin your crop.
Cut the head with 2-3 inches of stem attached and hang it upside down in a dry, dark place for 1-2 weeks. This final drying step ensures seeds are fully mature and storable.
I’ve used old mesh bags or paper sacks for this, but avoid plastic to prevent moisture buildup.
Stage 5 (Gray/Brittle): If the head turns gray and brittle, you’ve missed the boat. Seeds may scatter easily or lose viability. While you can still harvest, the flavor and quality decline sharply. This stage often coincides with first frost in cooler climates, so plan ahead.
To avoid this, harvest when 70% of seeds rattle in the head—this gives you a 2-3 day buffer before overripening. Store dried seeds in airtight containers in a cool, dark place for up to 6 months. With these stages mastered, you’ll never miss the perfect harvest again! 🌻
Seed firmness test: how to check ripeness without tasting (3-Step method)
Once your sunflower heads show that yellow-brown backside, don't rush to harvest—perform the seed firmness test first. This tactile method reveals maturity without tasting, saving you from bitter or underdeveloped seeds.
The key lies in pressure, sound, and seed detachment, three clues that work together like a gardener's fingerprint.
I've harvested hundreds of sunflower heads, and I can tell you: overripe seeds taste starchy and bland, while underripe seeds are bitter and moist. The firmness test eliminates guesswork by letting you physically verify what your eyes can't always see—especially on cloudy days when color cues fade.
Gently squeeze a seed from the center of the head. If it feels soft or squishy, it's not ready—wait 3-5 more days. Firm seeds that resist slight pressure are prime candidates.
Shake the head over a paper bag. Ready seeds produce a loud, dry rattle (like popcorn kernels). If it sounds dull or muffled, seeds need more time—moisture is still present.
Twist a seed gently—it should pop free from its bract (the papery casing). If seeds stick tightly or tear the bract, they're underripe. Overripe seeds may crumble when touched.
Avoid these common mistakes: harvesting when seeds are still green inside (even if the head looks dry), or waiting until seeds start falling out naturally (this means birds or squirrels will get them first!).
I once left a head too long, and 90% of seeds sprouted in the soil—don't let that happen to you.
Pro tip: Test seeds from multiple areas of the head—some may mature faster than others. Once you confirm 70% of seeds pass all three tests, it's time to harvest.
Cut the head with 2-3 inches of stem attached, then hang it upside-down in a dry, dark place for 1-2 weeks to finish drying.
With practice, this test becomes second nature. I now harvest sunflower seeds with 95% accuracy, and my stored seeds stay fresh for up to 2 years when properly dried and stored in airtight containers.
The firmness test isn't just about timing—it's about preserving quality for roasting, planting, or sharing with fellow gardeners.