Plants
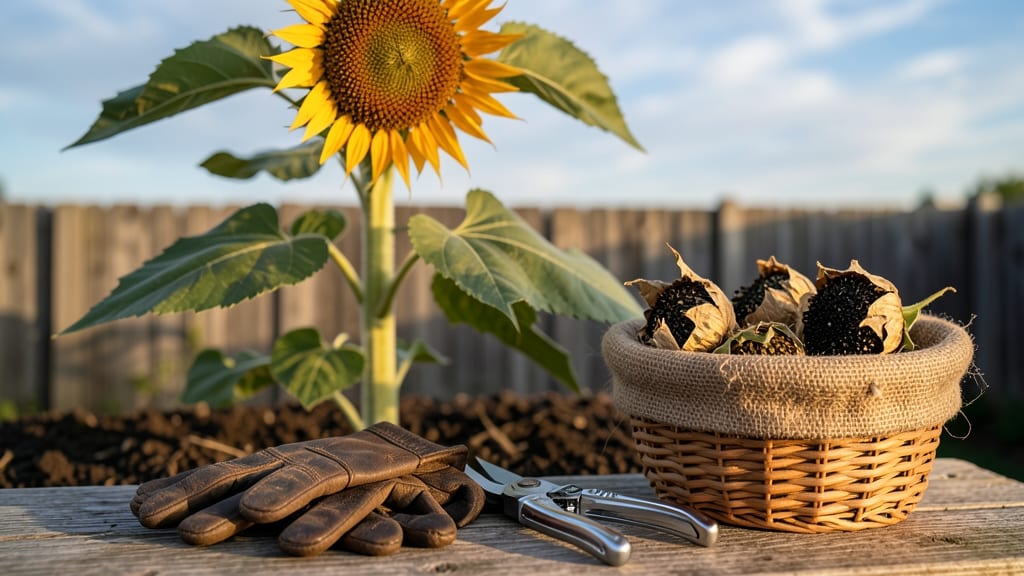
Harvesting sunflower seeds from plants at the perfect time ensures rich, flavorful seeds—too early, and you’ll end up with bitter, underdeveloped seeds, while waiting too long risks frost damage or bird raids.
Sunflowers aren’t just beautiful additions to your garden—they’re also a bountiful source of edible seeds, but timing your harvest wrong can mean bitter, unripe, or even bird-snacked rewards.
The key to unlocking a harvest full of flavor and nutrition lies in watching for subtle changes: the back of the seed head turning golden brown, the petals falling away, and the seeds rattling inside when shaken.
In this guide, I’ll walk you through the visual cues to look for, the hardness test to confirm ripeness, and how to adjust for your climate—whether you’re in a warm southern region or a cooler northern zone.


How to determine sunflower seed ripeness by color and plant changes
Harvesting sunflower seeds at the right time ensures maximum flavor, nutrition, and seed viability. The most reliable indicators are visual color changes and subtle shifts in the plant's structure. I’ve learned that ignoring these cues often leads to seeds that are either too soft (bitter) or too hard (shriveled).
Let’s break down the key signals that tell you when your sunflowers are ready for harvest.
First, watch the seed head color transition from vibrant green to a rich, golden brown. This shift happens gradually, starting at the edges and moving inward. In my experience, immature seeds remain green even when the petals have fallen, while mature seeds develop a deep brown hue.
The timing can vary slightly based on your USDA zone—typically between 90-120 days after planting.
Back-of-head browning is another critical clue. When the reverse side of the seed head turns from green to a pale yellow or tan, it’s a strong sign that the seeds are nearing maturity. This area often dries out first because it faces away from direct sunlight. If you see this change combined with the front turning brown, your seeds are likely ready in 3-5 days.
Don’t overlook the leaf wilting pattern either. As seeds mature, the plant redirects energy to seed development, causing the lower leaves to yellow and wilt. This is especially noticeable in tall varieties like ‘Russian Giant,’ where the top third of the plant remains green while the bottom two-thirds dry out.
This natural pruning process signals that the seeds are prioritizing maturation over foliage growth.
Here’s how to compare immature vs. mature seed heads at a glance:
The seed rattling test is my favorite trick for confirming ripeness. Gently shake a mature sunflower head—if you hear seeds moving inside, they’re ready. This happens because the seeds have fully dried and detached from the inner walls.
In my garden, I perform this test daily during the harvest window to avoid missing the perfect moment.
Regional differences matter too. In warmer climates (Zones 8-10), sunflowers may mature faster, while in cooler zones (4-7), they might take longer. Watch for the first frost in your area—harvesting before a hard freeze prevents seed spoilage.
For example, in Zone 5, I aim to harvest by early October to avoid frost damage.
One mistake I’ve made is harvesting based solely on seed color without checking the back of the head. Some varieties, like ‘Autumn Beauty’, develop a striped pattern that can be misleading.
Always verify by pressing a seed between your fingers—it should feel firm but not rock-hard. If it’s too soft, wait another day or two.
Finally, consider the bird factor. If you notice birds pecking at your sunflowers, they’re likely targeting nearly ripe seeds. While this isn’t a ripeness indicator, it’s a sign that your seeds are close to harvest time.
Installing bird netting can help protect your crop while you wait for the perfect moment.
By combining these visual cues—color shifts, back-of-head browning, leaf wilting, and the rattling test—you’ll never miss the ideal harvest window again. The key is patience; waiting for all signs to align ensures seeds that are perfect for eating, storing, or planting next season. 🌻
The hardness test: how to check seed readiness before harvesting
Once your sunflower's seed head turns golden brown and the back darkens, it's time for the ultimate test: the hardness check. This simple method tells you whether your seeds are truly ready to harvest or still need time on the plant.
I’ve learned that seed firmness is just as important as color when determining perfect ripeness.
The hardness test involves three key methods: the nail test, thumb pressure, and checking the seed shell resistance. Each method gives you a different clue about whether your seeds are ready.
If you miss this step, you might end up with seeds that are either too soft (bitter) or too hard (unviable). Let’s break down how to do it right.
✅ Fully brown and dry
The seed head should be a deep, uniform brown with no green patches. The back of the head should turn a pale yellow or tan.
✅ Firm and dry to the touch
Press a seed gently with your thumb. It should feel firm and not dent easily. If it feels mushy or squishy, it’s not ready.
✅ No dent from fingernail
Gently press a fingernail into a seed. If it doesn’t leave a dent, the seed is ready. If it dents easily, wait another 3-5 days.
✅ Hollow sound when shaken
Shake the seed head over a bowl. If seeds rattle loudly, they’re ready. A dull thud means they need more time.
✅ Petals fully fallen
All petals should have dropped off, leaving only the seed head. If petals remain, the seeds aren’t ready yet.
If your seeds feel too soft during the thumb test, they need more time on the plant. Leave them for another 3-5 days and retest. Soft seeds often taste bitter and won’t store well.
On the flip side, if seeds feel too hard or won’t dent at all, they might be overripe. While they’ll still be edible, their flavor may be less vibrant.
Pro tip: Harvest on a dry, sunny day to ensure seeds dry quickly after picking. Use a sharp knife or pruners to cut the seed head, leaving a few inches of stem. Hang the heads upside down in a well-ventilated area for 1-2 weeks to dry completely before shelling.
Once you’ve mastered the hardness test, you’ll never second-guess your sunflower harvest again. The key is patience—waiting for the perfect firmness ensures seeds that are nutritious, flavorful, and ready for storage or replanting next season.